Service command
The service command is one of Astra's more powerful commands as it directly ties into a lot of the developer experience around managing an application.
Let's jump right in by going over a few examples of what it can do.
Service Create
The create command is the most powerful as it provisions all the infrastructure for a new application. But even with this power the command is effectively very simple to use.
It's important to note that since this command creates a lot of infrastructure for your service it requires us to be within our Terraform root directory.
Here is a simple example:
~|⇒ cd ~/Code/terraform
~|⇒ astra service create testapp staging internal
┌─ Astra service setup
┊
├─ To setup a brand new service we'll need to initialize the infrastructure that allows you
│  to manage and deploy the service.
│
│  We'll set up the following for your service:
│    • An ECR (Elastic Container Registry) repository for container management.
│    • Load balancers along with appropriate target groups for efficient traffic distribution.
│    • An ECS (Elastic Container Service) service definition to manage your containerized applications.
│    • A starter ECS task definition to initialize your containers and define core functionality like logging.
│    • Necessary DNS entries and TLS certificates for secure, reliable connectivity.
┊
├─ Astra will attempt to use Terraform to create this infrastructure on your behalf.
This command will first prompt you with the infrastructure it's about to create and then run terraform apply on your
behalf.
This could take a while as Astra creates and validates the network settings, security groups, container orchestration settings, certificate validation etc.
✅ Once finished you will be presented with information about your newly created service!
├── ✓ Created new service testbed
┊
├─ You can visit your service at:
│    • https://testbed-13457782464.us-east-2.elb.amazonaws.com | LB address
│    • https://testbed.us-east-2.staging.orreri.xyz | Default service address
┊
├─ What to do next?:
│    1) Commit the newly created Terraform service files into version control.
│    2) Upload your app container to the newly created ECR repo: 317441045785.dkr.ecr.us-east-2.amazonaws.com/testbed
│    3) Perform your first deployment!
│      • CLI docs: `astra service deploy -h`
│      • Web docs: https://astra.orreri.dev/docs
- After you're finished don't forget to check in the code Astra inputs into your Terraform directory.
- You can also use the links mentioned in this output to visit the temporary landing page for your new service.
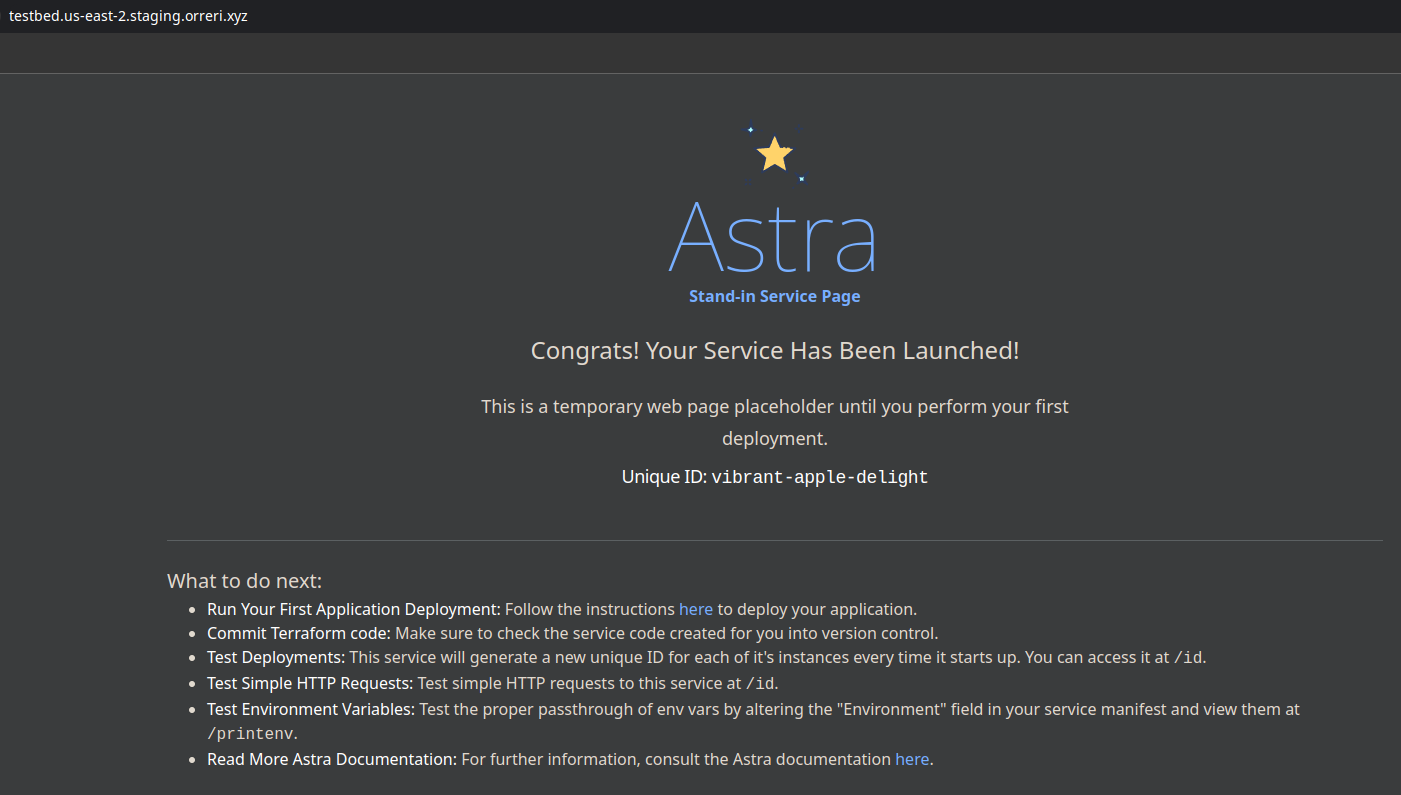
Astra's Stand-in Container
Visiting your service without running any other commands will present this temporary landing page, provided by a default Astra container.
It has a few helpful endpoints for observing Astra's deploy process and allows you to get the hang of how your application will function ahead of time.
Service Generate-Manifest
After you've created your service with the service create command you'll need some way to configure and update that service.
Astra streamlines service deployment through the use of a "manifest" file. This crucial file contains
configuration settings for your service. When you initiate a deployment with the service deploy command,
Astra automatically locates this manifest file. It then translates the configurations within the manifest into
live settings, effectively deploying or updating your service according to the defined parameters.
But writing a manifest file from zero doesn't seem like that much fun. So Astra gives you the default manifest file that it uses during the create step to create your service welcome page.
Creating the manifest file
cd ~/Code/my_app
~|⇒ astra service generate-manifest testbed staging
✓ Created service manifest at "./service_manifest.staging.hcl".
Few things here to mention:
- Keep the manifest file next to your code: Best practices dictate that you should keep your manifest file as close to your application code as possible. Keeping it in your repo's root directory is somewhat of an early convention. Most importantly though make sure you're keeping it in version control. This allows you to quickly rollback to an earlier version and revert any changes quickly.
- Run deploys from the same directory as your manifest file: When you run the
service deploycommand (using defaults) Astra will look for your manifest file in the current directory.
Inside the manifest file
Inside the manifest file you will find a large amount of settings you can configure for your application.
~|⇒ cat ~/Code/my_app/service_manifest.staging.hcl
containers = [
  {
    name      = "testbed",
    image     = "ghcr.io/orreri/astra-standin-container:latest",
    cpu       = 256,
    memory    = 512,
    essential = true,
    portMappings = [
      {
        containerPort = 8080,
        protocol      = "tcp"
      }
    ],
    environment = [
        {
            name  = "ASTRA_TEST_VAR",
            value = "change_me"
        },
    ],
    ...
The most important configuration options are:
- cpu/memory: Allocate sufficient CPU and memory resources for your application container. If your application frequently becomes unhealthy or gets killed due to resource exhaustion, consider increasing these values.
- image: Specify the container image to be used by Astra for your application.
It's recommended to update the docker tag at the end of the image string (e.g.,
latest) for each deployment. This ensures that Astra updates the container and helps you track the version of the software in production. - environment/secrets: Use this section to define values that will be passed to your container as environment variables. This approach allows you to manage configuration in a cloud-native way, ensuring that you have full visibility into the production environment.
🪧 It's also important to note here that Astra has set some defaults that you should be aware of when creating your application container. Namely the service within should run on whatever the "containerPort" variable is set to. This allows the container orchestrator to understand where it should send traffic.
Service Deploy
The service deploy command is a quick and easy way to deploy your application using the current best practices.
It takes advantage of the previously set up infrastructure and deploys your application with zero downtime and zero hassle.
Let's give it a go:
Setting up our manifest file
The precursor step to deploying is having something to deploy in the first place. The way Astra reads these changes is via the manifest file mentioned above. For this example we'll pretend we've simply updated the version of our software going out by updating the version number on our application container.
🪧 Remember it's good practice to keep your manifest file close to your code. This makes it easy to track changes and configure your CI/CD to deploy your application automatically.
Starting the deployment
First we need to be in the same directory as our manifest file mentioned above.
~|⇒ cd ~/Code/my_app
~|⇒ ls -al ./service_manifest.staging.hcl
Then we can simply run the astra service deploy command
~|⇒ astra service deploy testbed staging -w
The -w flag here allows us to watch the deployment, very useful if we're not sure the deployment will succeed and
we want to monitor it manually.
Omitting the -w flag will return immediately and we wont get to see the fun!
Let it cook
Astra guides you on the rest from here.
- First, Astra makes sure you have the correct permissions to continue forward.
- Secondly, it evaluates and provides a diff between what is currently running and what is about to deploy.
- Once that diff is approved, it starts a "rolling deployment" where the old version of the application is slowly removed and replaced with the new container.
With the watch flag enabled you will see the event logs as your container orchestrator deploys your application. Any errors will be noted here so you can address them.
Once all containers are replaced with the new version the deployment will end.
? Approve the proceeding changes? (y/N): y
✓ Diff Approved
✓ Deployment 'ecs-svc/343312Z094900432416' started!
Events:
 │ 20:19:44 :: has reached a steady state.
 │ 20:20:03 :: has started 2 tasks: (task 576e832714554f6a810f5ad936a58990) (task e5d34184830655538e2f94a8a6ef1d9a).
 │ 20:20:23 :: registered 2 targets in (target-group arn:aws:elasticloadbalancing:us-east-2:217331048788:targetgroup/testbed/041e551fa2e073fa)
 │ 20:21:11 :: has stopped 2 running tasks: (task f000461cc1ea483f90e1be821f937c63) (task 7dc17ce4119746caa2edfabf9441f95e).
 │ 20:21:22 ::(service testbed, taskSet ecs-svc/9654828164620583765) has begun draining connections on 2 tasks.
✓ Deployment completed!
🪧 Currently, once a deployment has started it cannot be halted, but it can be replaced by another deployment. Simply start another deployment with the
--forceflag to stop the current deployment and start another one.
Service Logs
The logs command is a quick and dirty way of viewing application logs.
That's it... No marketing speak, it just does what is says on the tin.
~|⇒ astra service logs testbed staging
[a58980] :: 2 minutes ago :: 2024-02-09T01:34:31.163260Z DEBUG request: finished processing request latency=43 μs status=200 method=GET uri=/ version=HTTP/1.1
[a58980] :: 2 minutes ago :: 2024-02-09T01:34:31.167440Z DEBUG request: finished processing request latency=41 μs status=200 method=GET uri=/ version=HTTP/1.1
[ef1d9b] :: 2 minutes ago :: 2024-02-09T01:34:31.168158Z DEBUG request: finished processing request latency=26 μs status=200 method=GET uri=/ version=HTTP/1.1
[a58980] :: 2 minutes ago :: 2024-02-09T01:34:31.196957Z DEBUG request: finished processing request latency=33 μs status=200 method=GET uri=/ version=HTTP/1.1
[ef1d9b] :: 2 minutes ago :: 2024-02-09T01:34:31.199123Z DEBUG request: finished processing request latency=62 μs status=200 method=GET uri=/ version=HTTP/1.1
At the beginning of each log line is the last six characters of the origin container's id. This helps with identifying where a particular log is coming from.
Of further interest might be the --tail and --filter flags which allow you to continuously stream logs as they come in
and filter logs by a naive string filter respectively.
The --filter flag is useful in case you want to filter only for a particular container's logs or maybe are just
looking for a specific string.
~|⇒ astra service logs testbed staging -f a58980
[a58980] :: 2 minutes ago :: 2024-02-09T01:34:31.163260Z DEBUG request: finished processing request latency=43 μs status=200 method=GET uri=/ version=HTTP/1.1
[a58980] :: 2 minutes ago :: 2024-02-09T01:34:31.167440Z DEBUG request: finished processing request latency=41 μs status=200 method=GET uri=/ version=HTTP/1.1
[a58980] :: 2 minutes ago :: 2024-02-09T01:34:31.196957Z DEBUG request: finished processing request latency=33 μs status=200 method=GET uri=/ version=HTTP/1.1